Easter Bunny Bag
Here we go…..
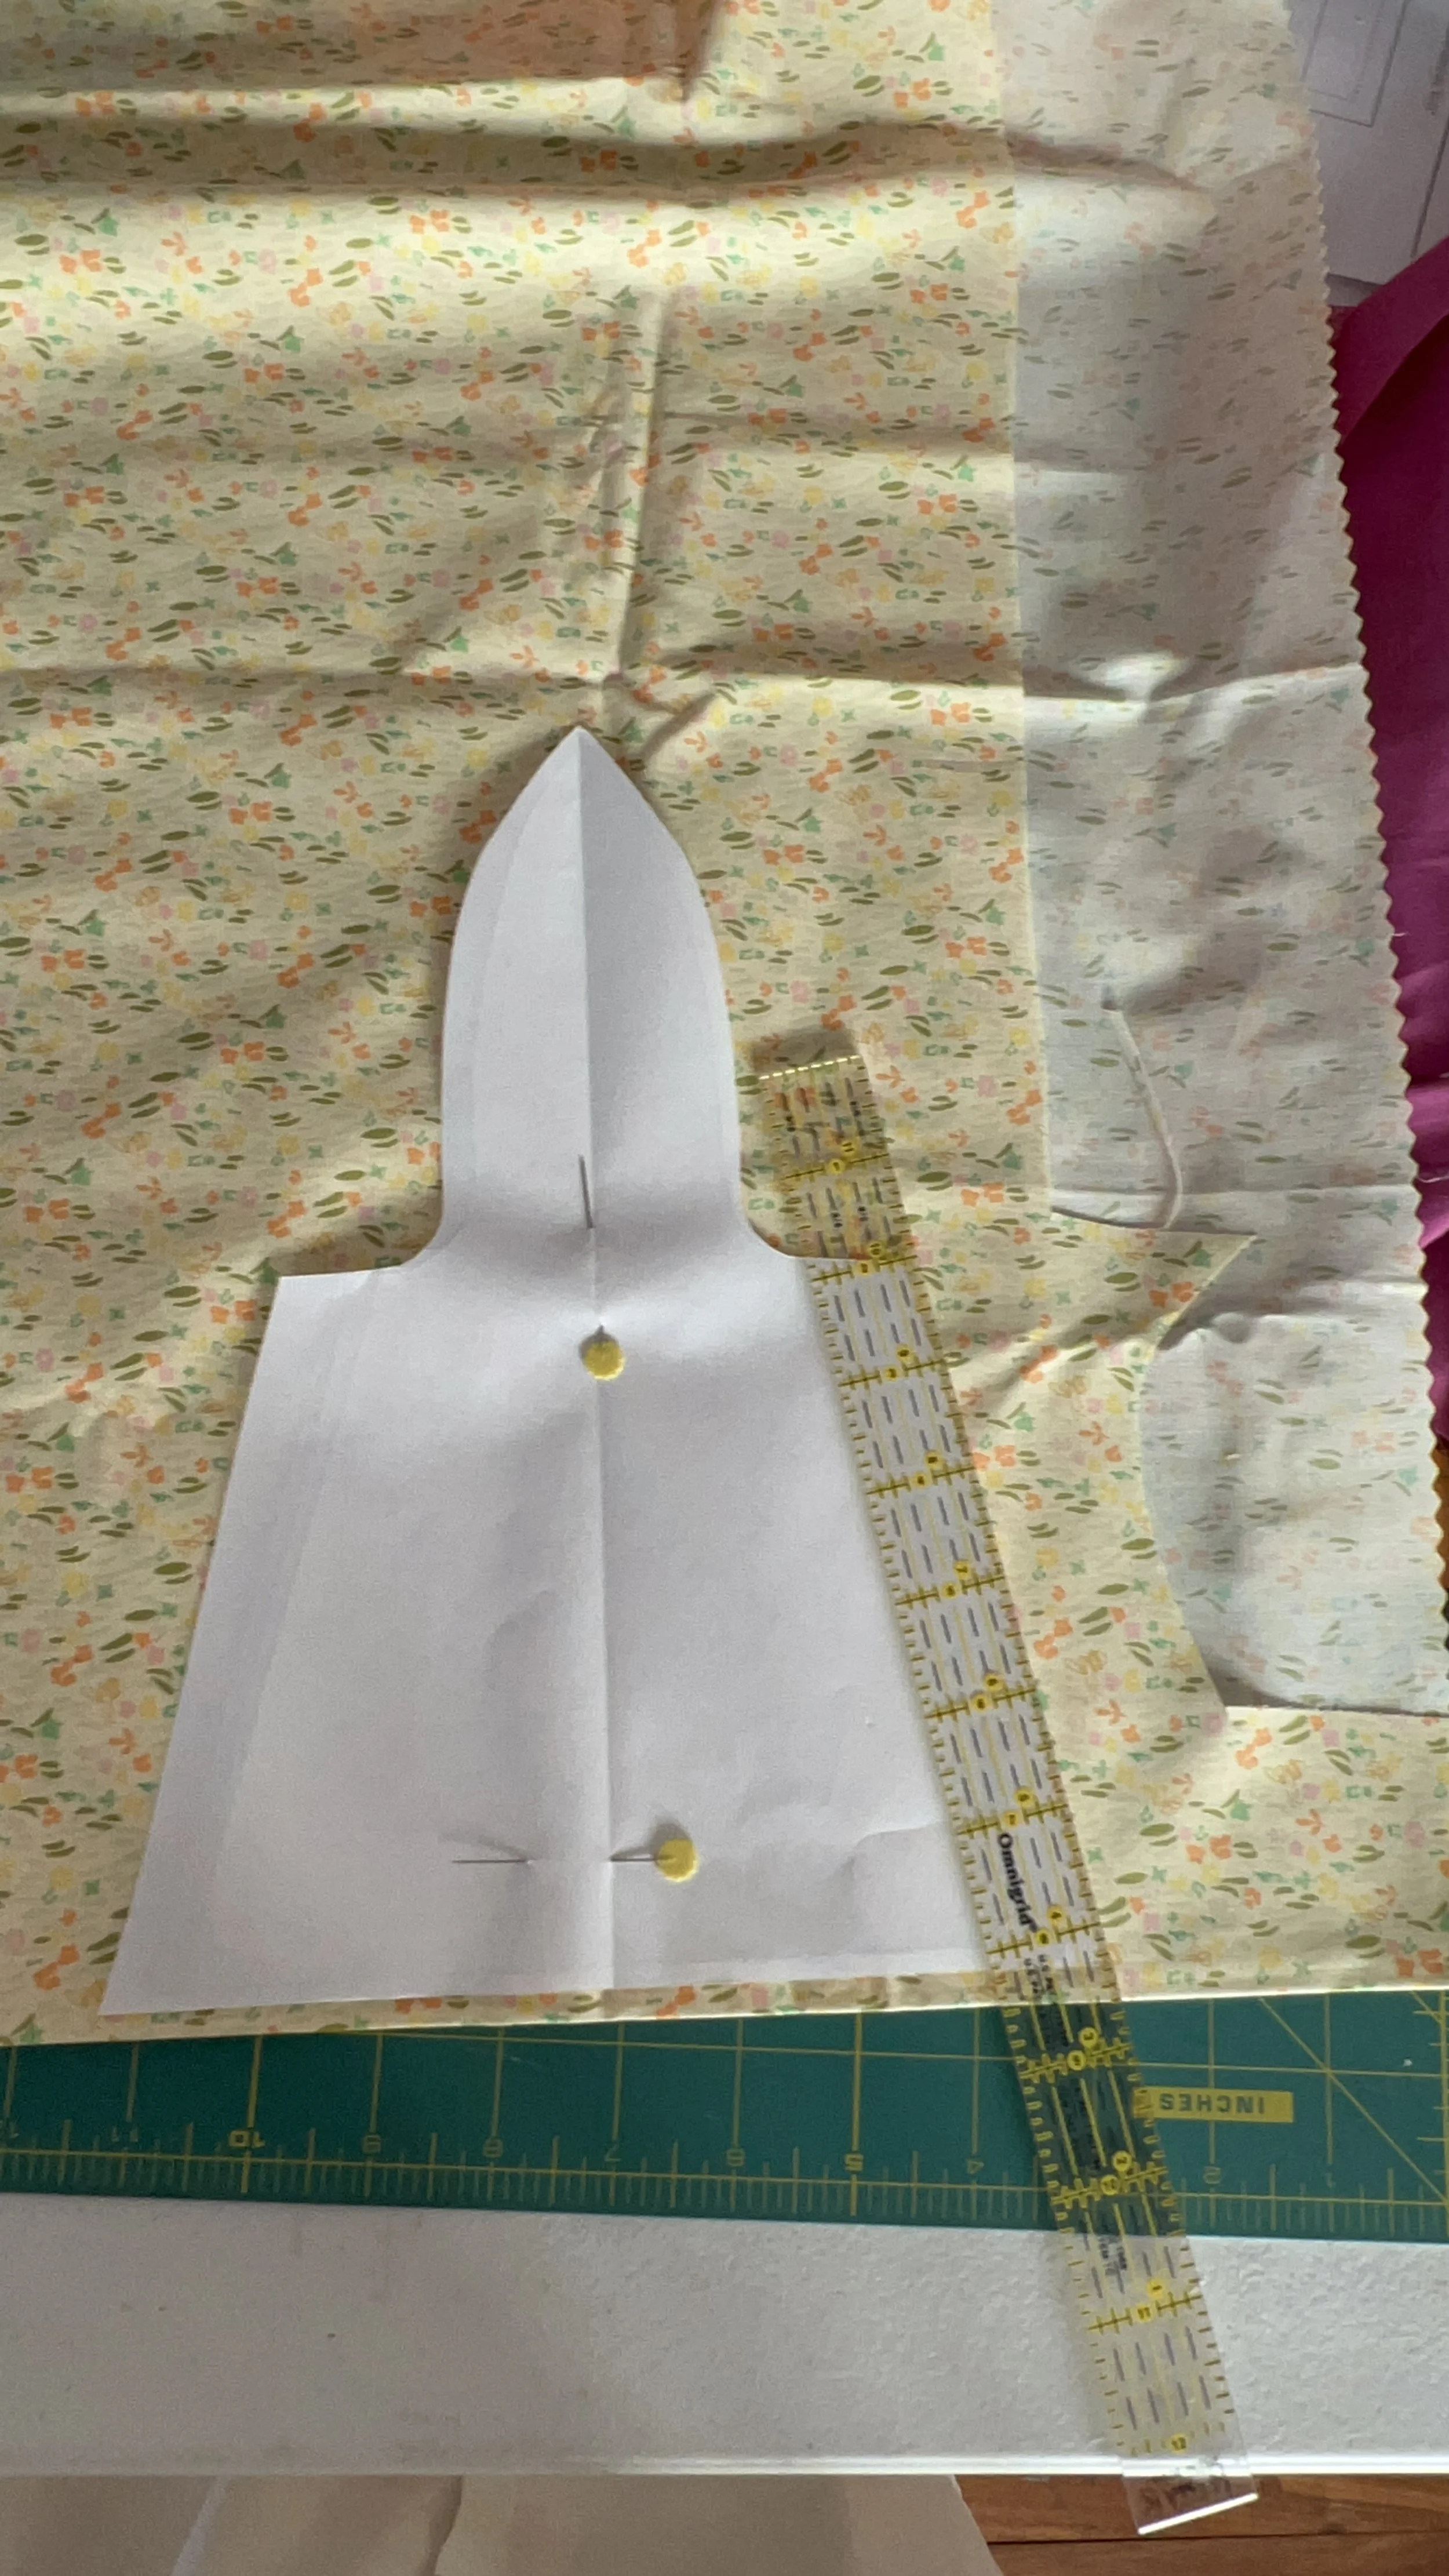
Let’s get ready to make this adorable Bunny Easter Bag. Choose your fabrics, you will need two different designs. One for the out side bag and one for the inner bag. Print the template and cut out. Trace the template onto the fabric, I placed all four piece of fabric together to only trace and cut once.
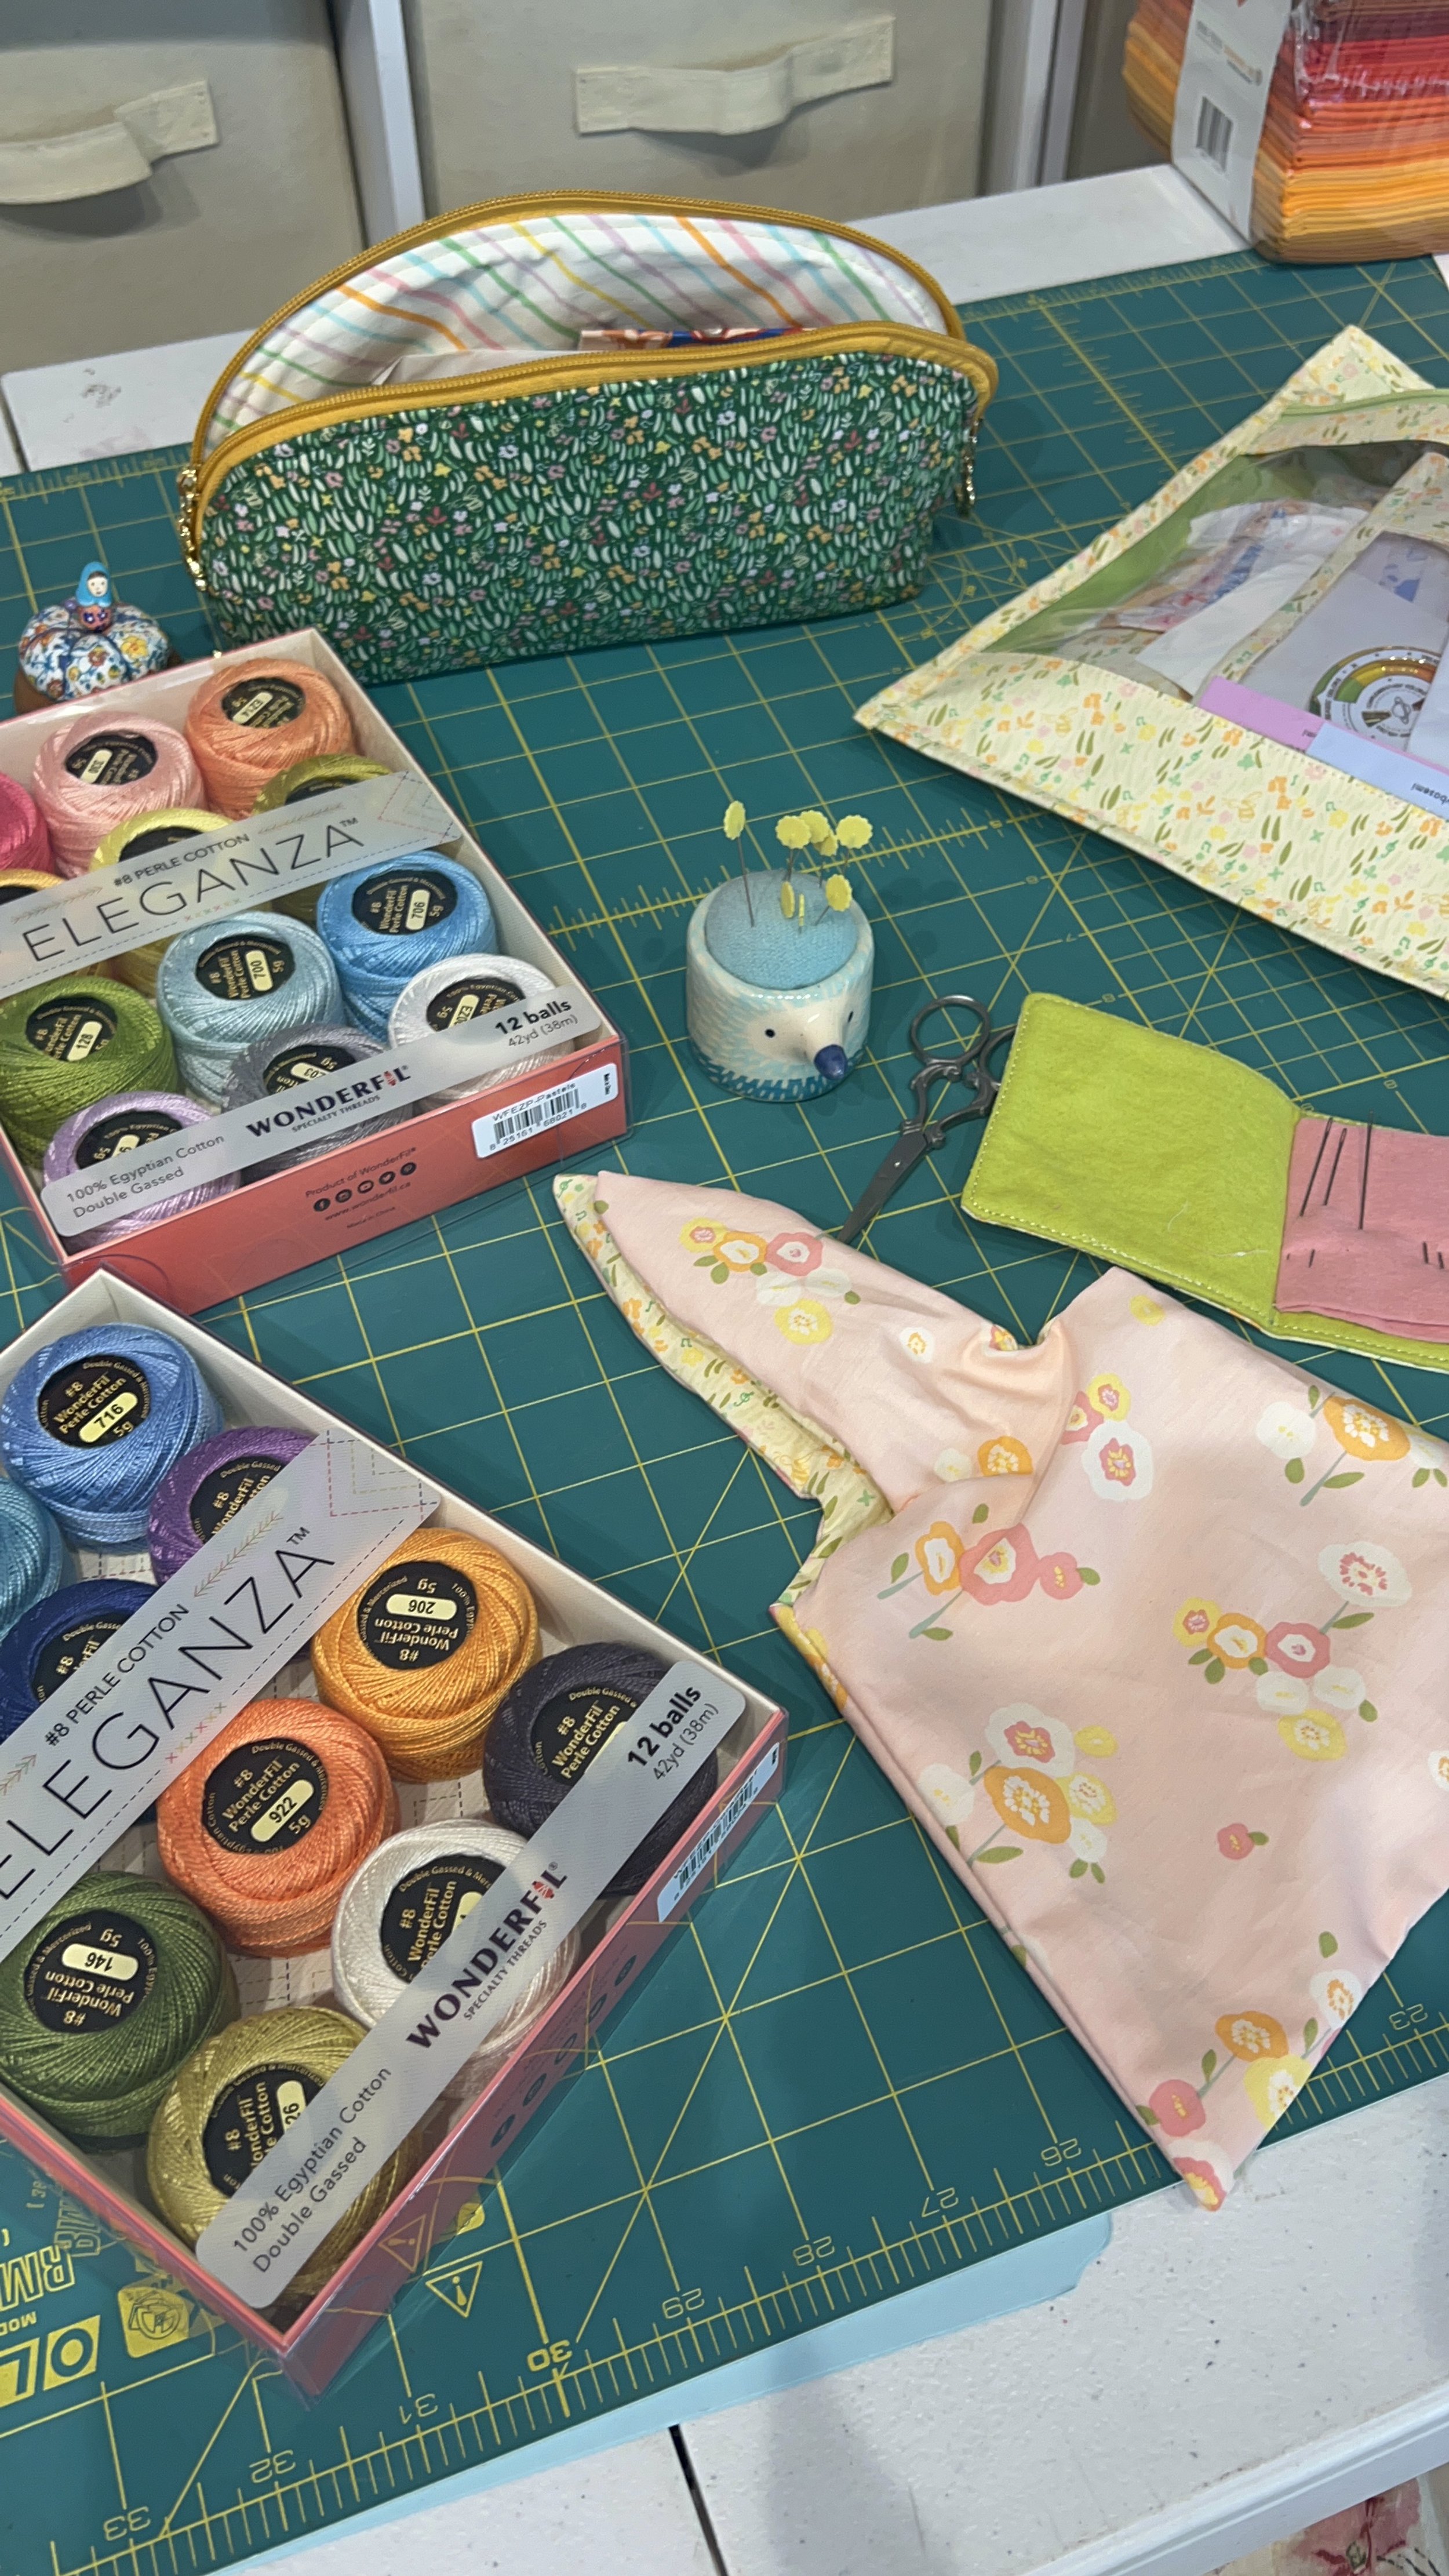
So this lesson I learned the hard way, take my tip and embroider the eyes, nose, and mouth before you start sewing. I used Eleganza by Wonderfil, they glide perfectly and the quality is amazing.
Now that you have the face embroidered and the four piece cut and ready to go. Place Fabric A and Fabric B wrong sides to each other and pin, repeat with other set.
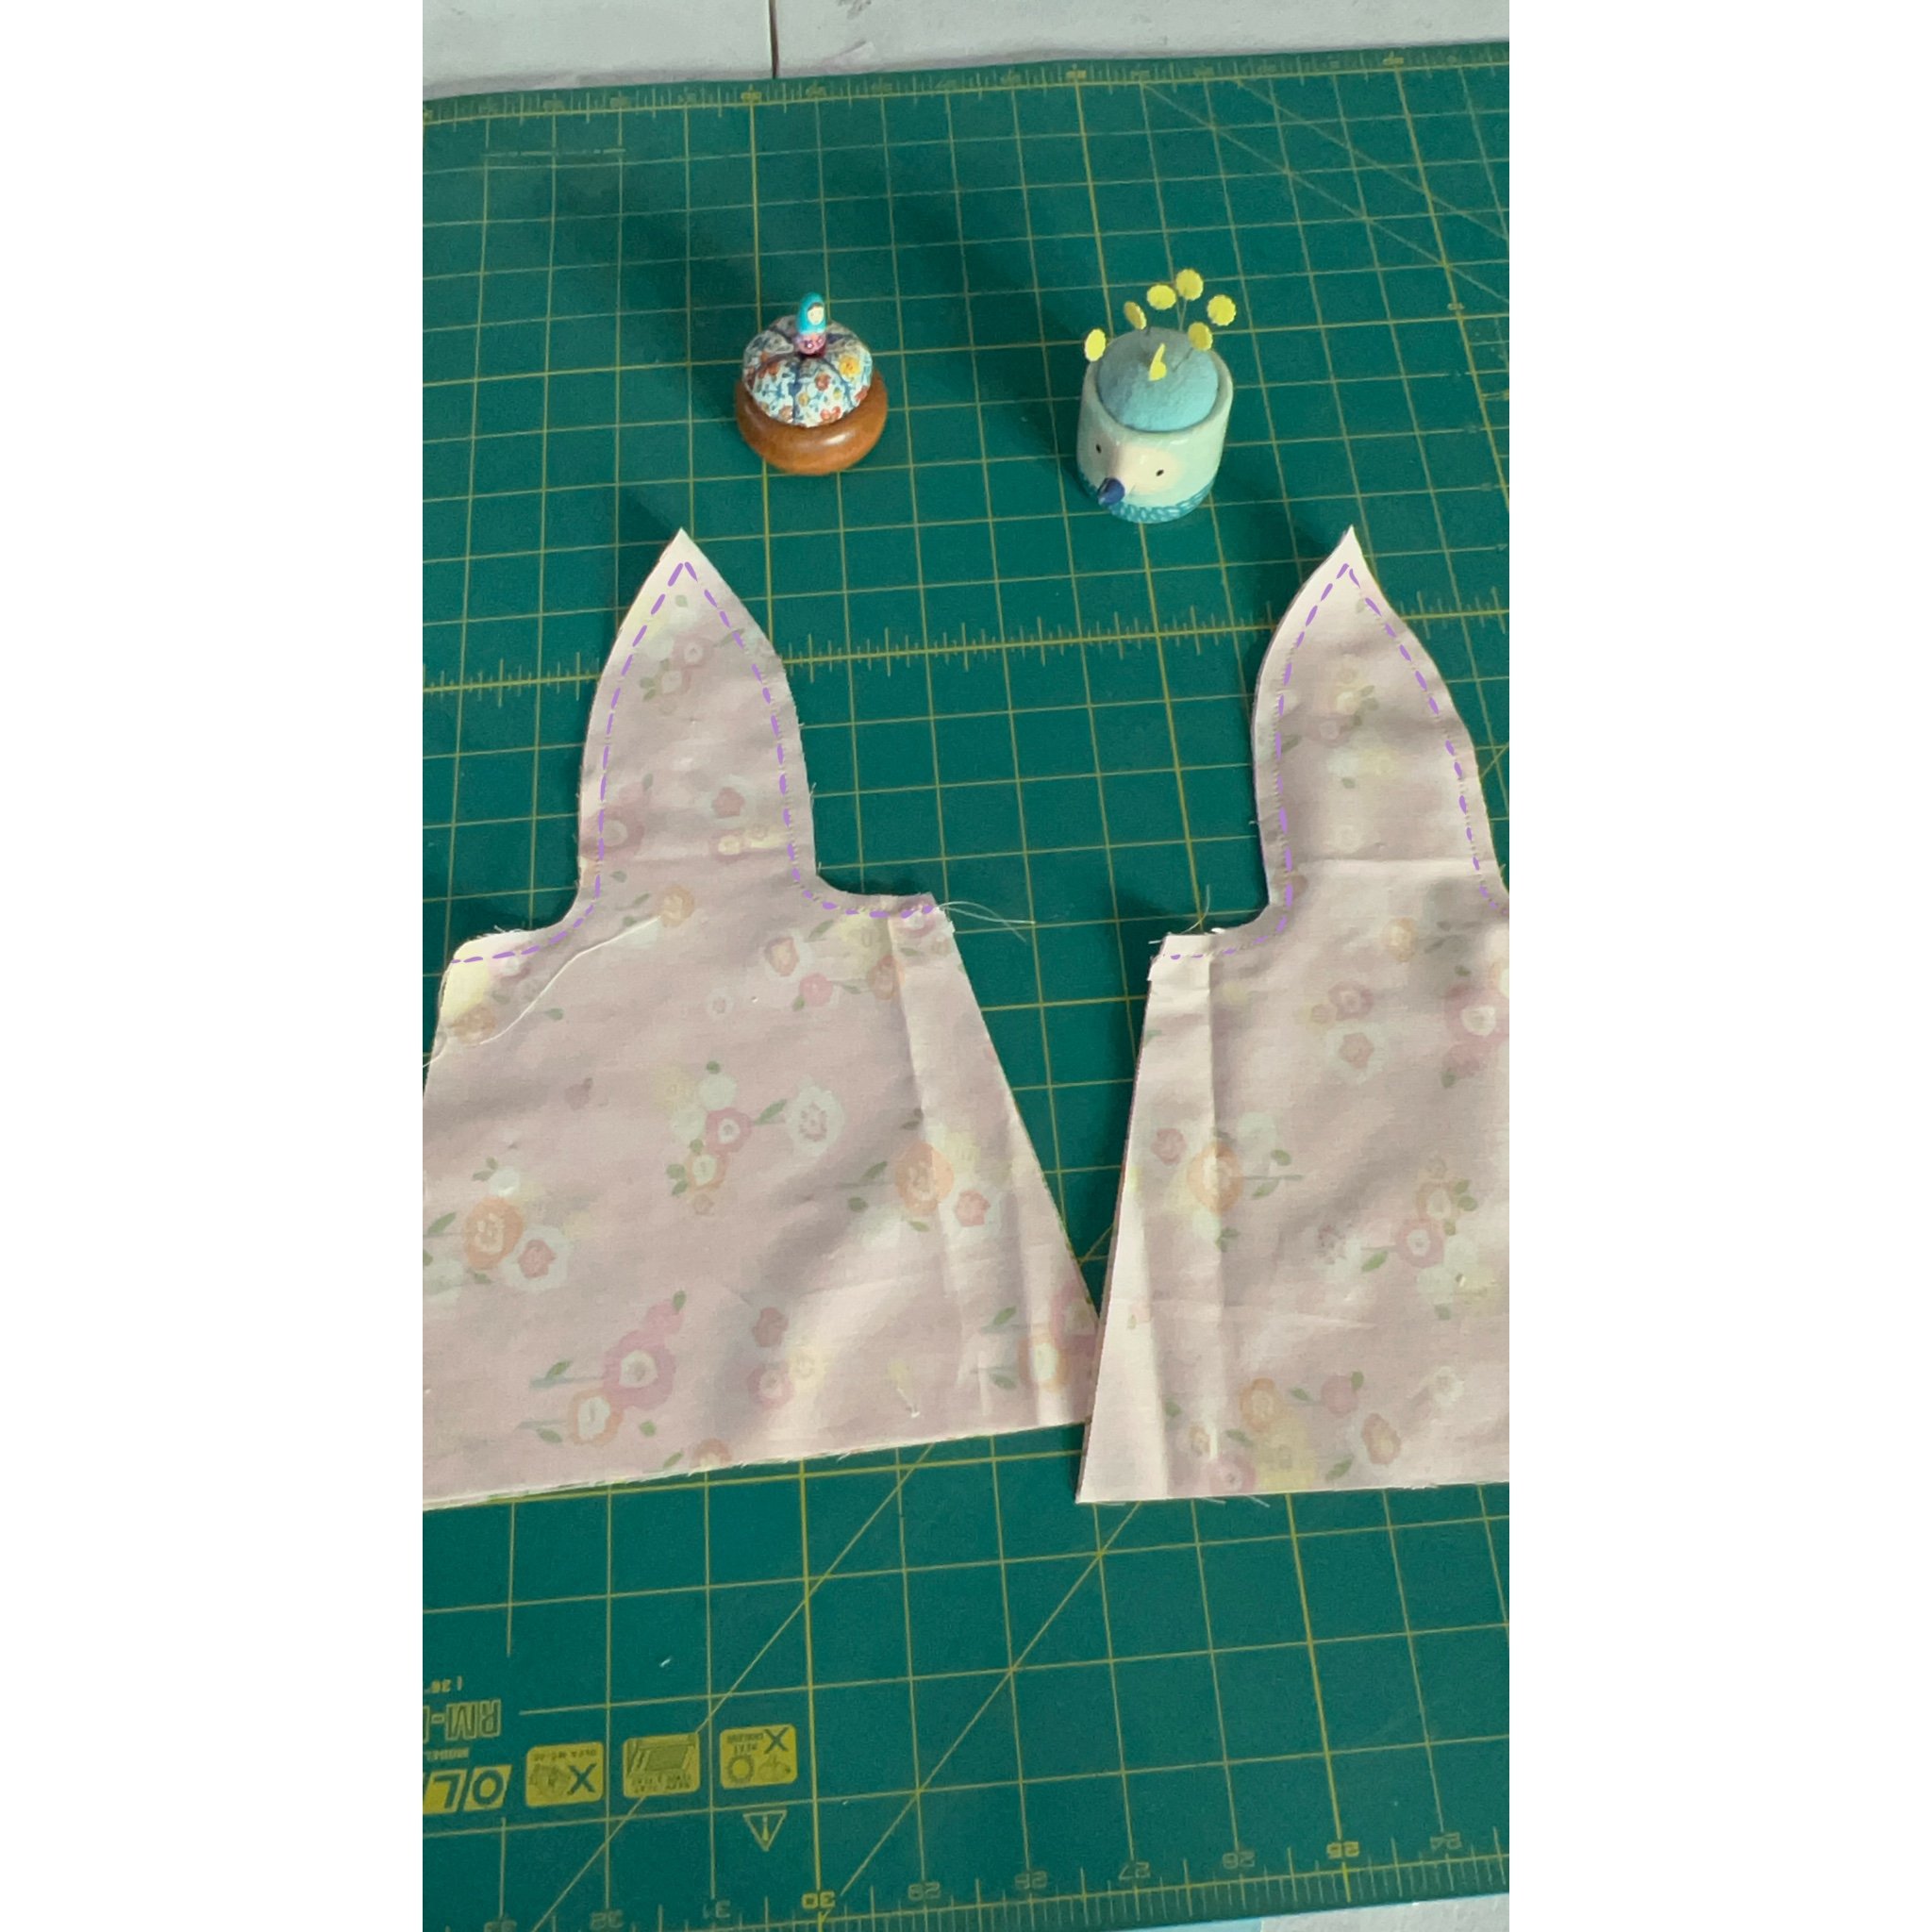
Next sew along the ears follow the purple dotted line that I traced on this picture, you can keep the 1/4 “ seam allowance.
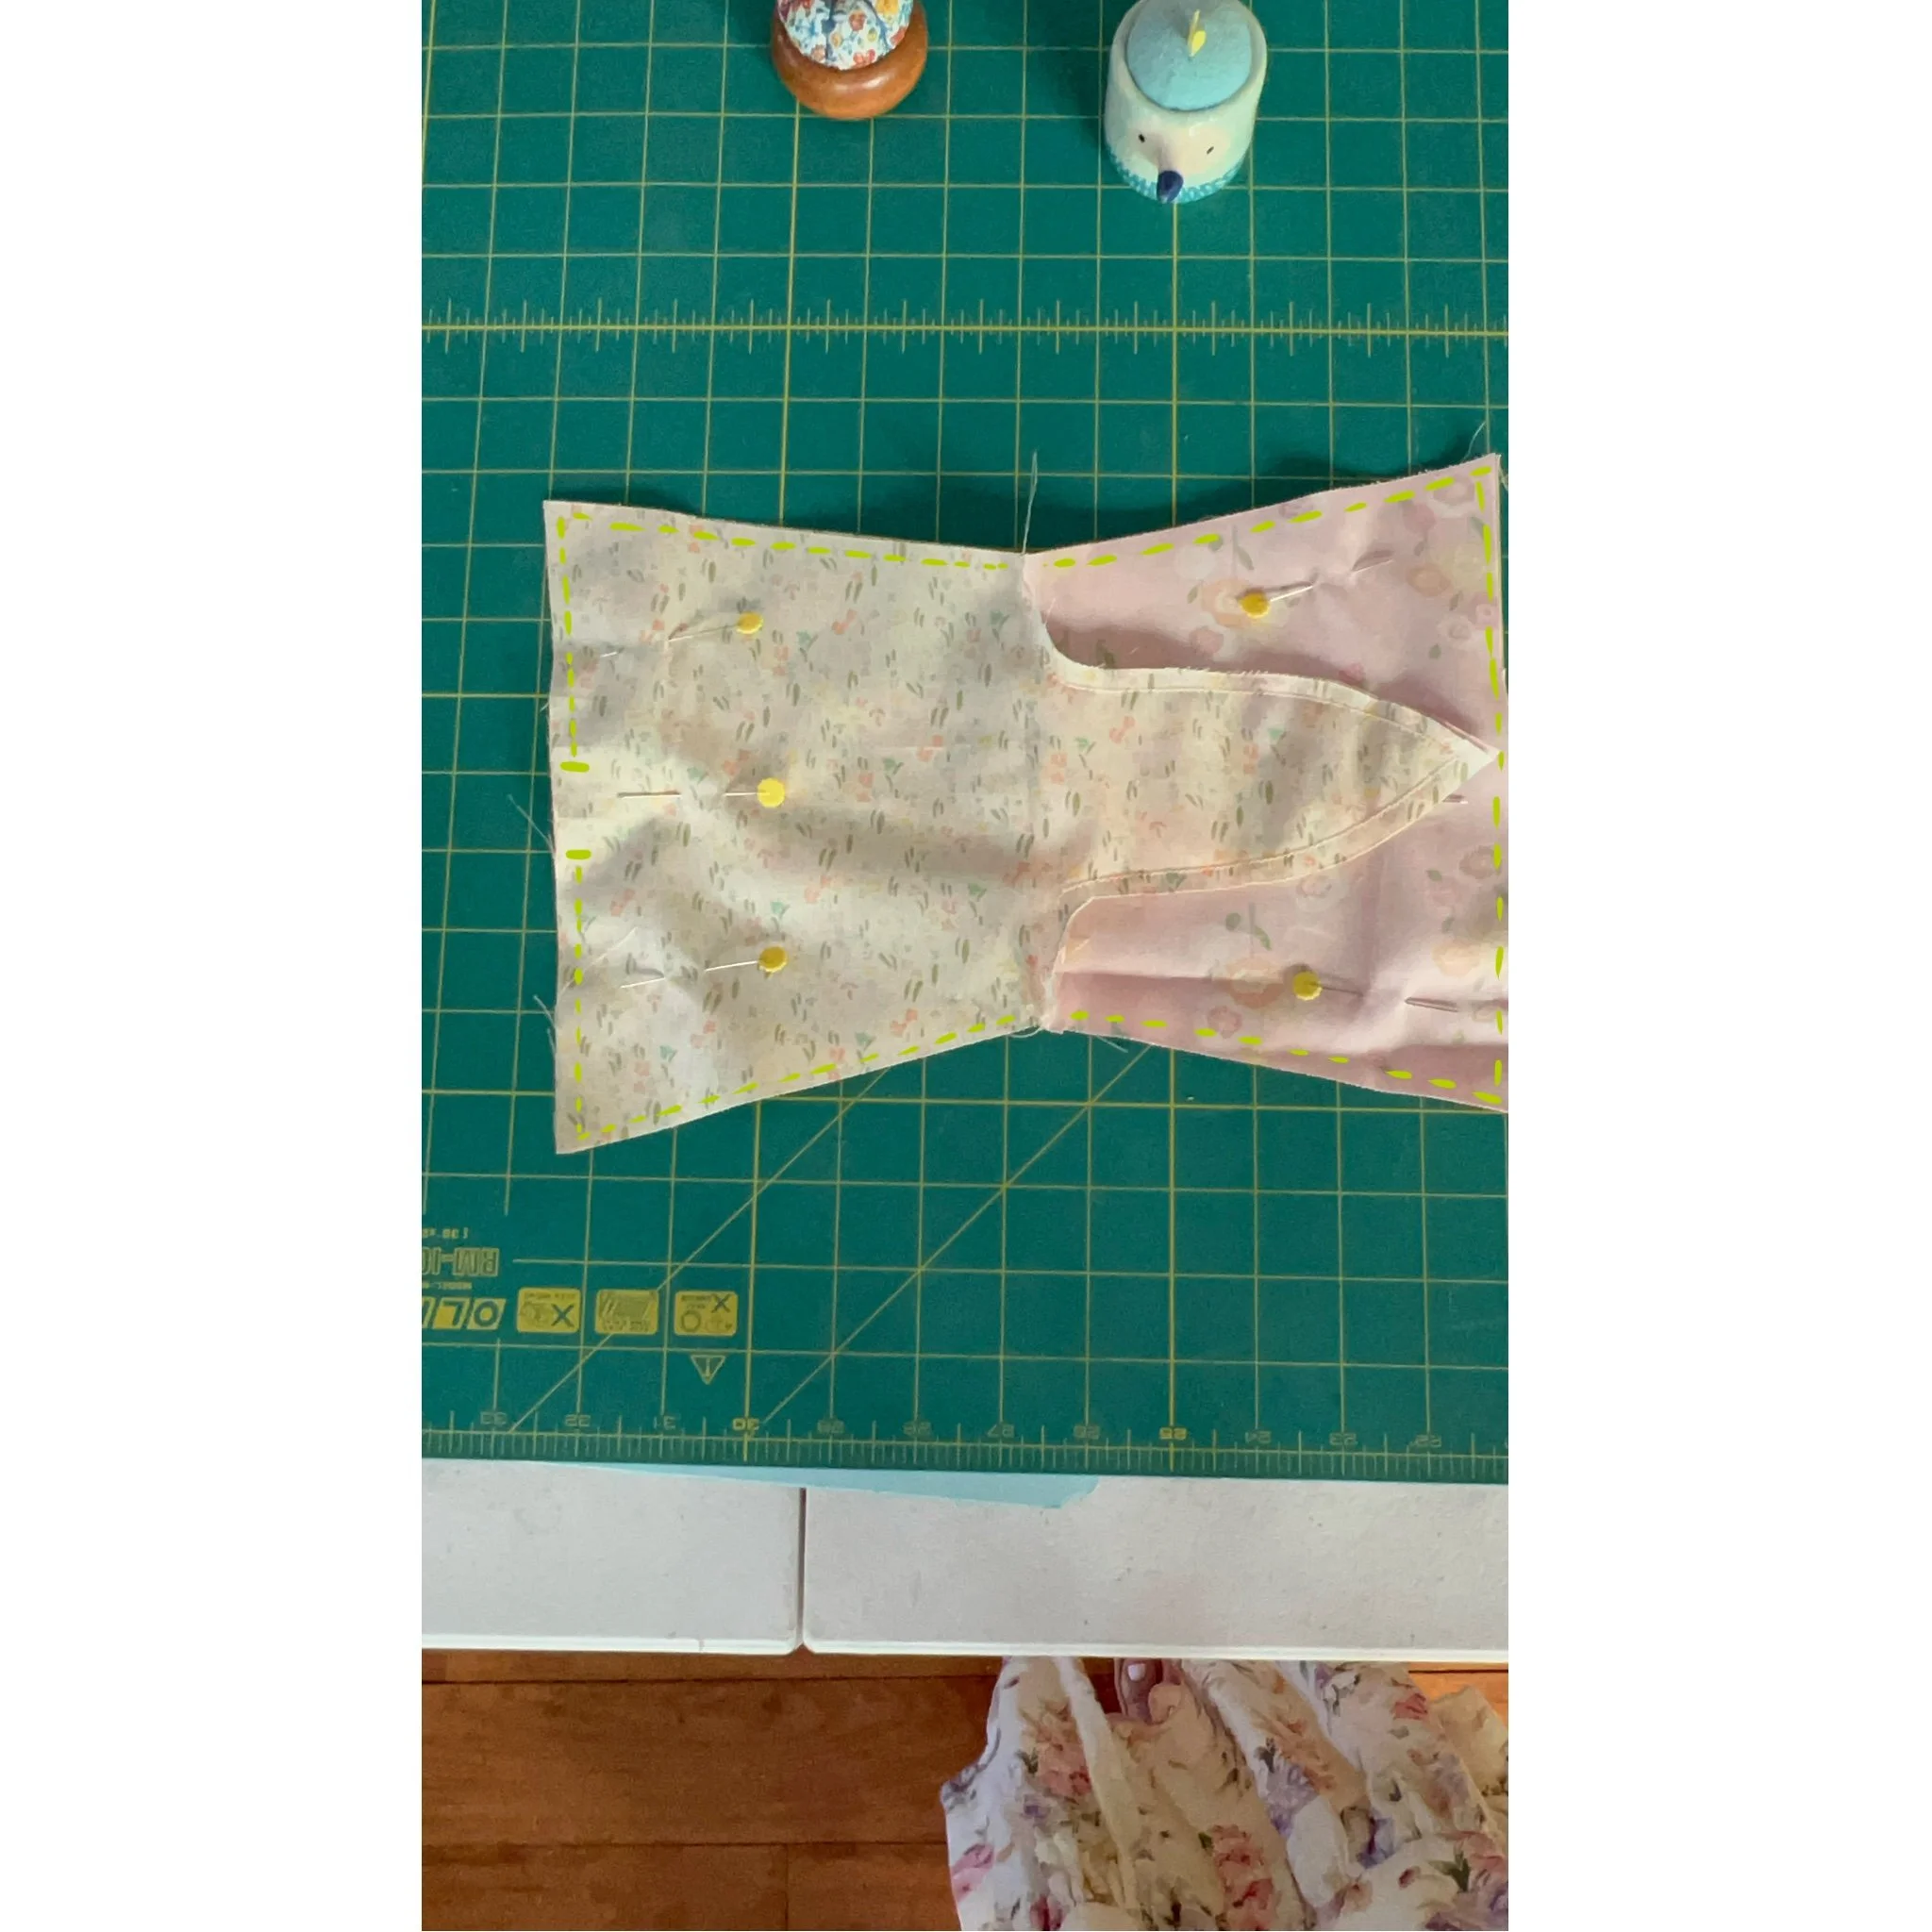
Now that the ears have been sewn together it’s time to open up the bag sides. Place the matching Fabric A and Fabric B together and pin them wrong sides inward, like the picture. Next sew along the sides of the bags follow the green lines I drew on this picture. Make sure to leave an opening on one of the sides so you can turn the bags and ears. (Tip: Make sure to not let the ears get caught while you are sewing the sides)
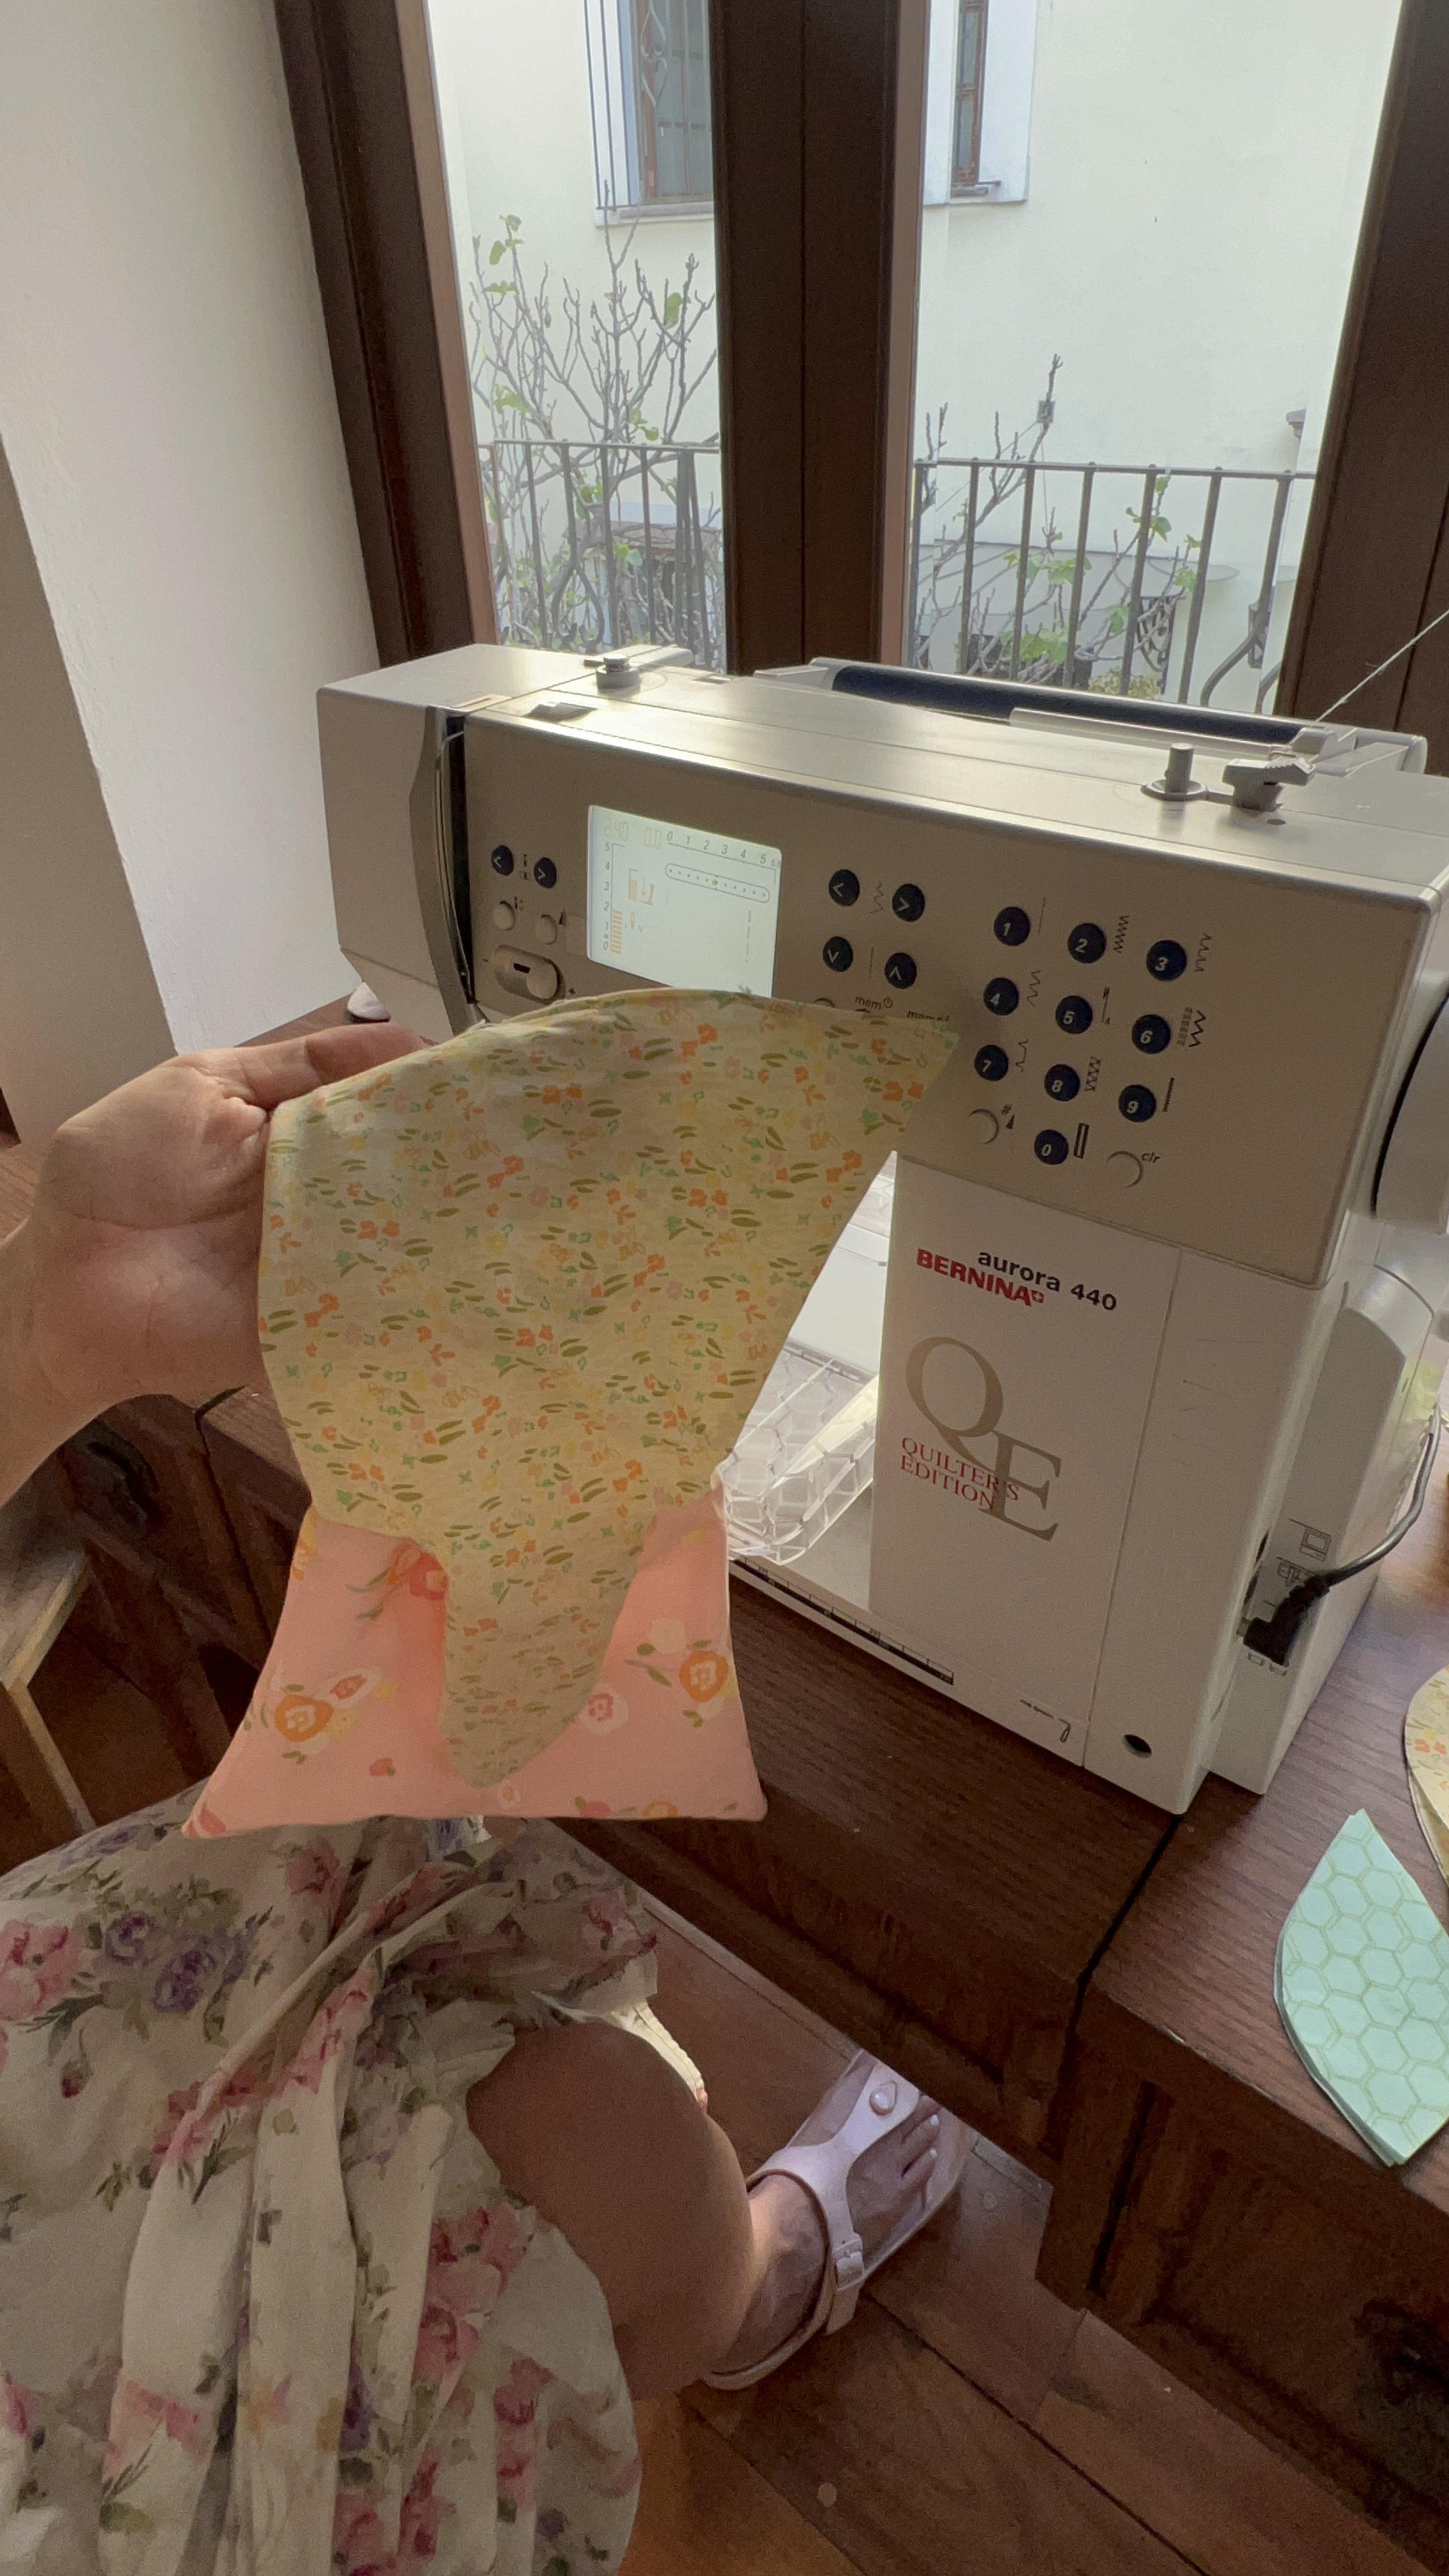
After you have turned the bag and ears to the right side out, make sure you sew along all the bottom of the side where you left the opening to turn.

Iron everything to make sure it’s nice and smooth.
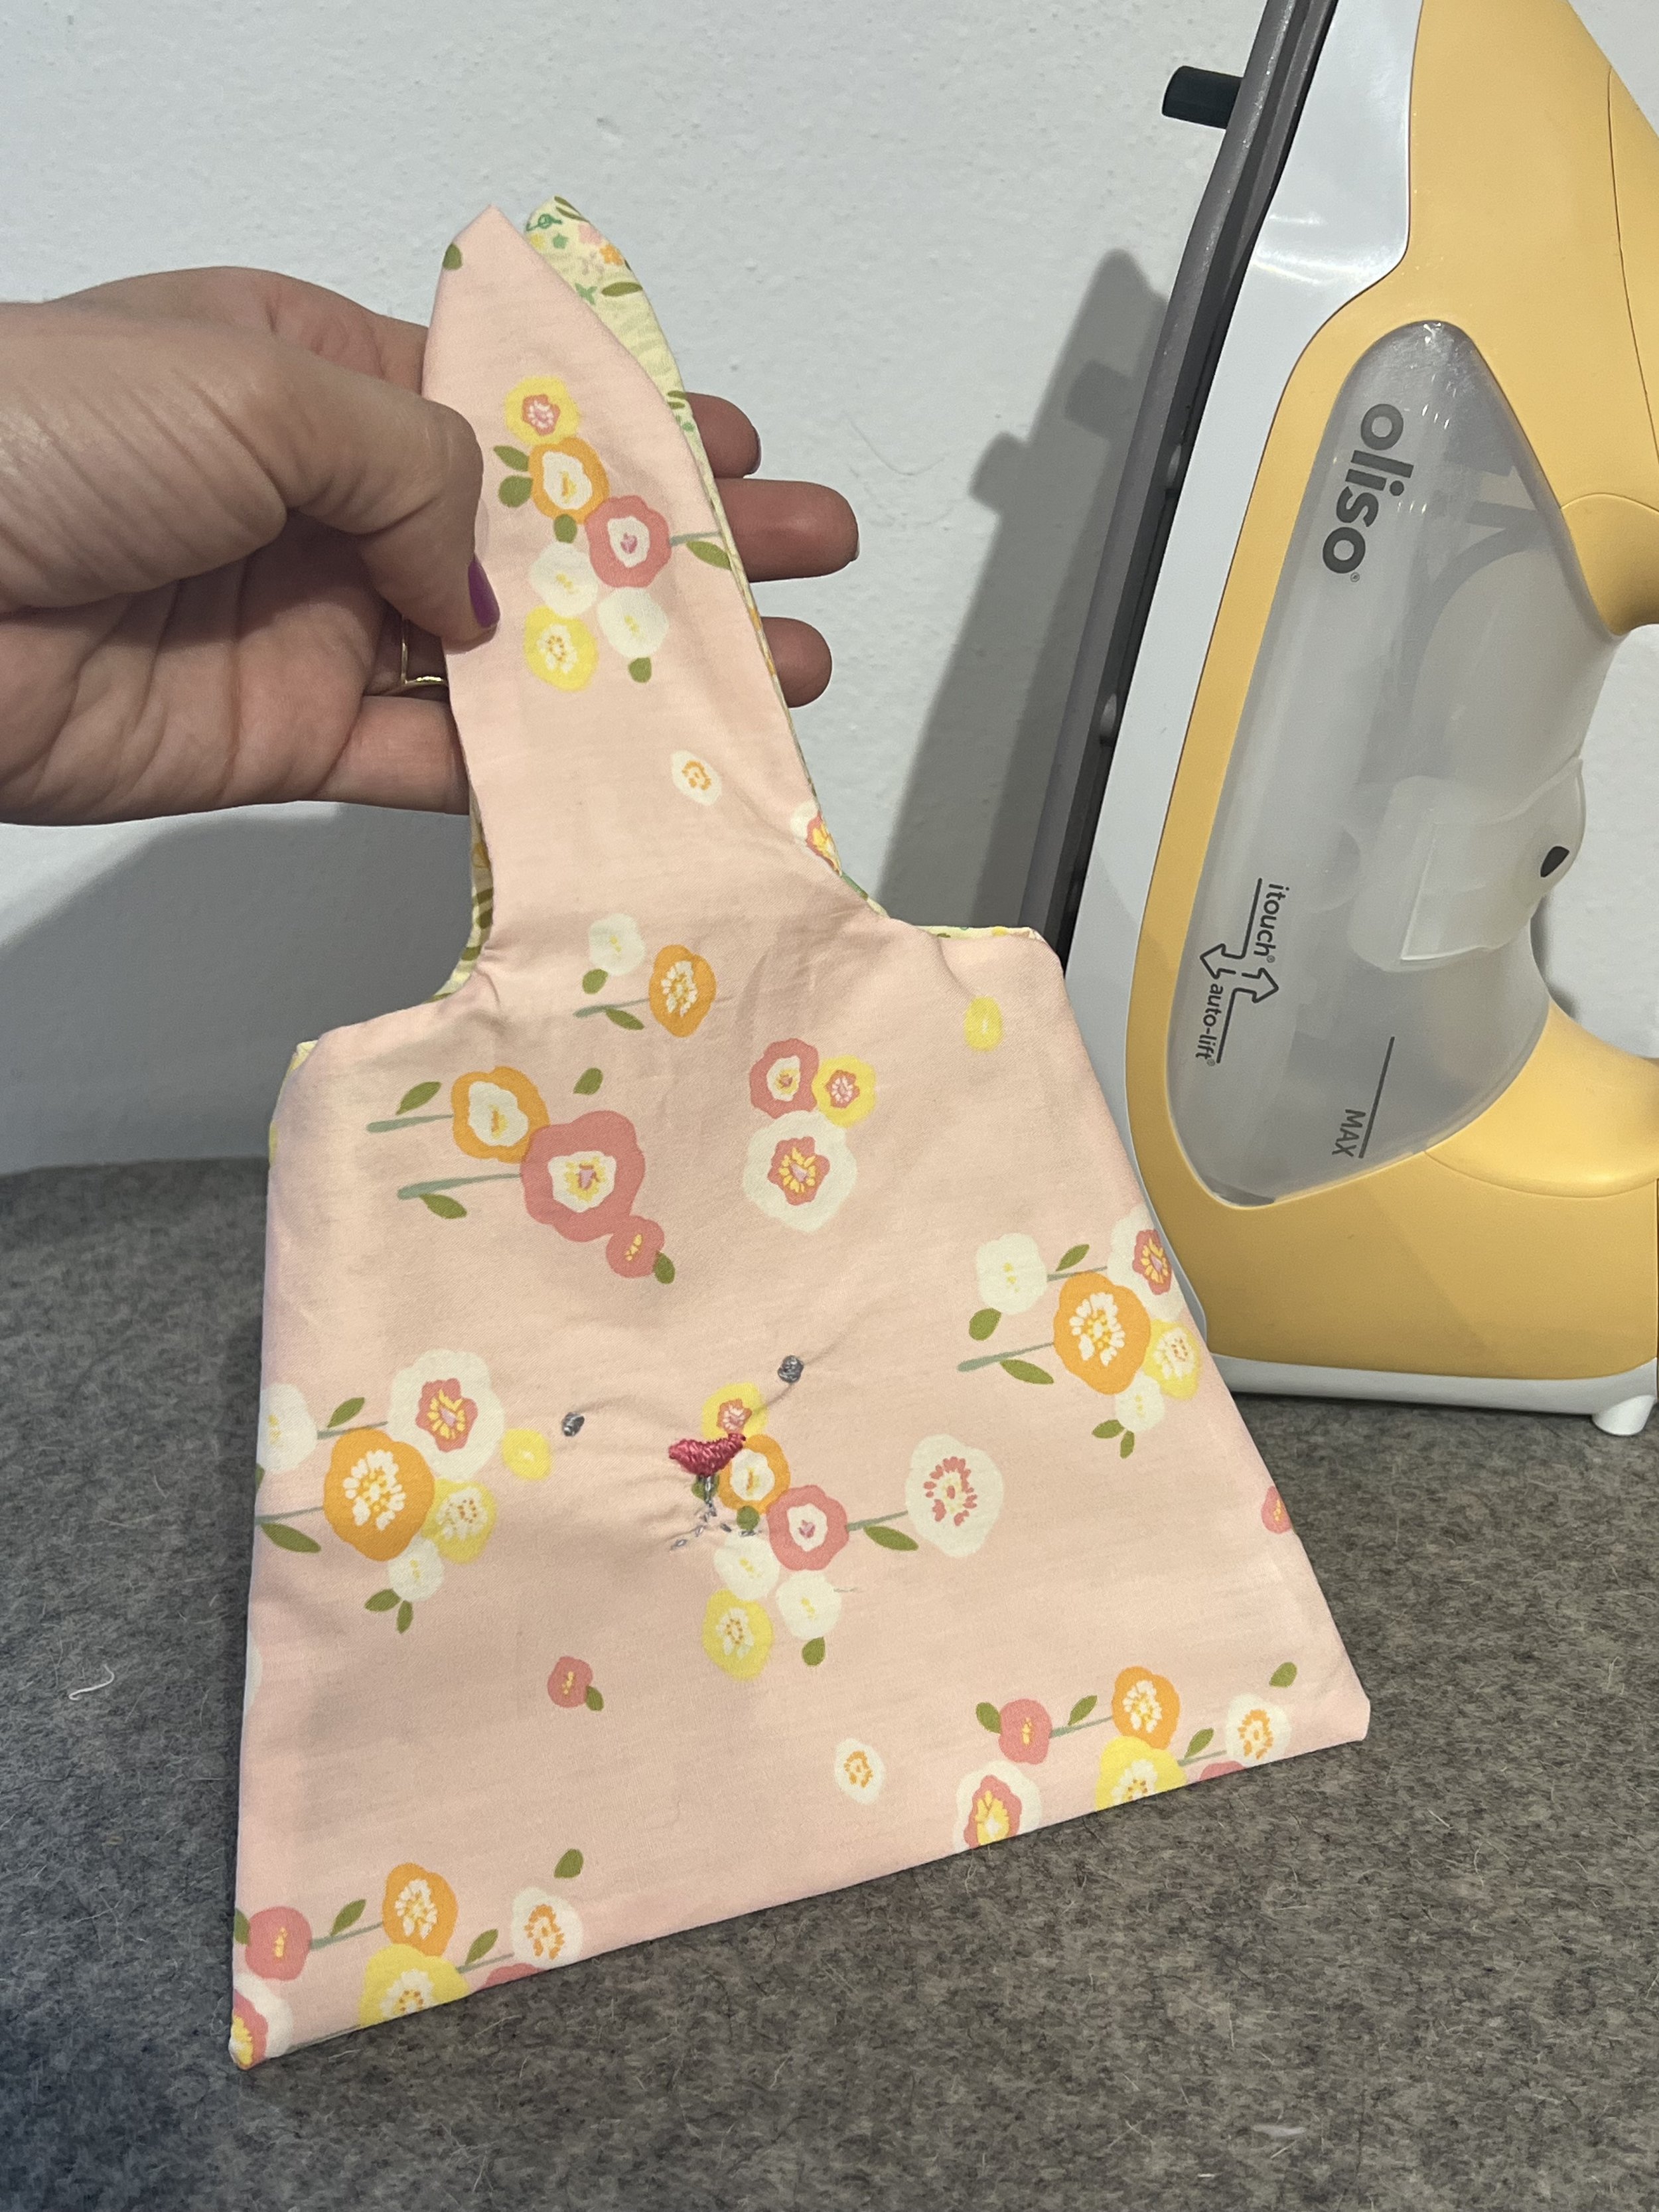
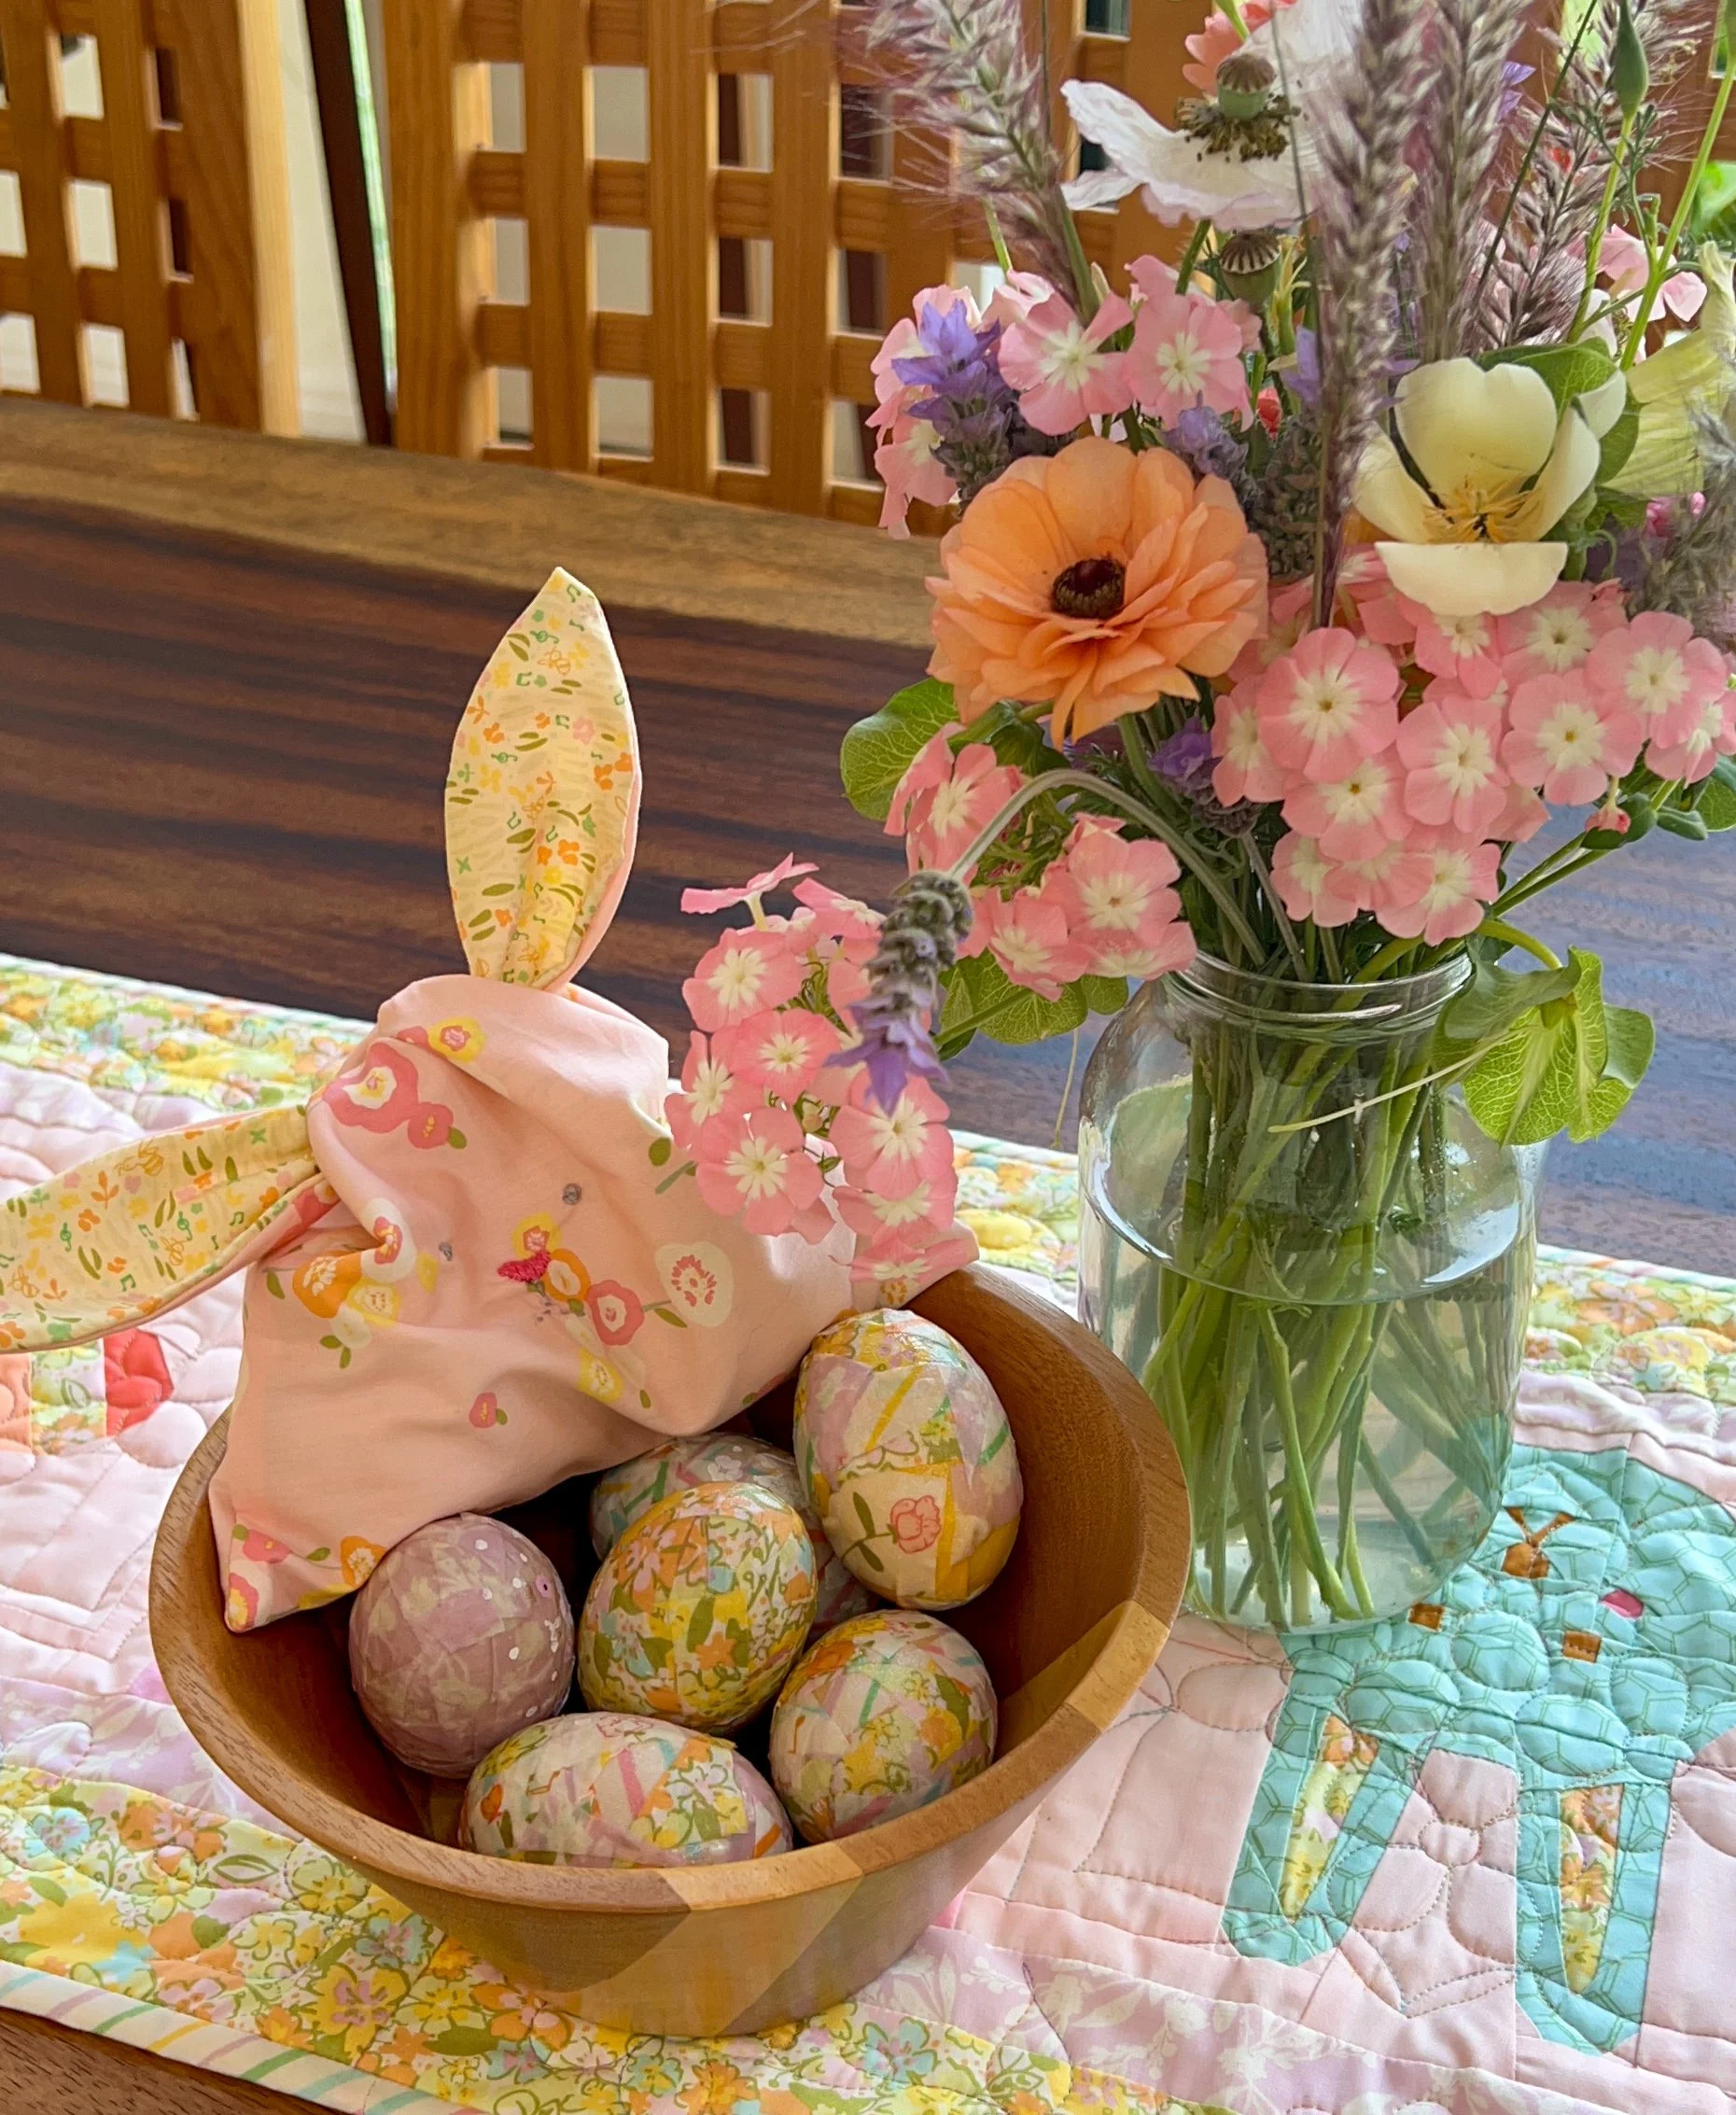
This is what the bag should look like after you tuck in the inside bag.

Once you fill the bag use both ears to make a simple not and keep all your goodies safely tucked inside. I hope you have fun making this easy but sweet bag. Make sure to share pictures of your bags ;) I promise it will take about 20 mins. It’s an easy craft that makes the most adorable treat.
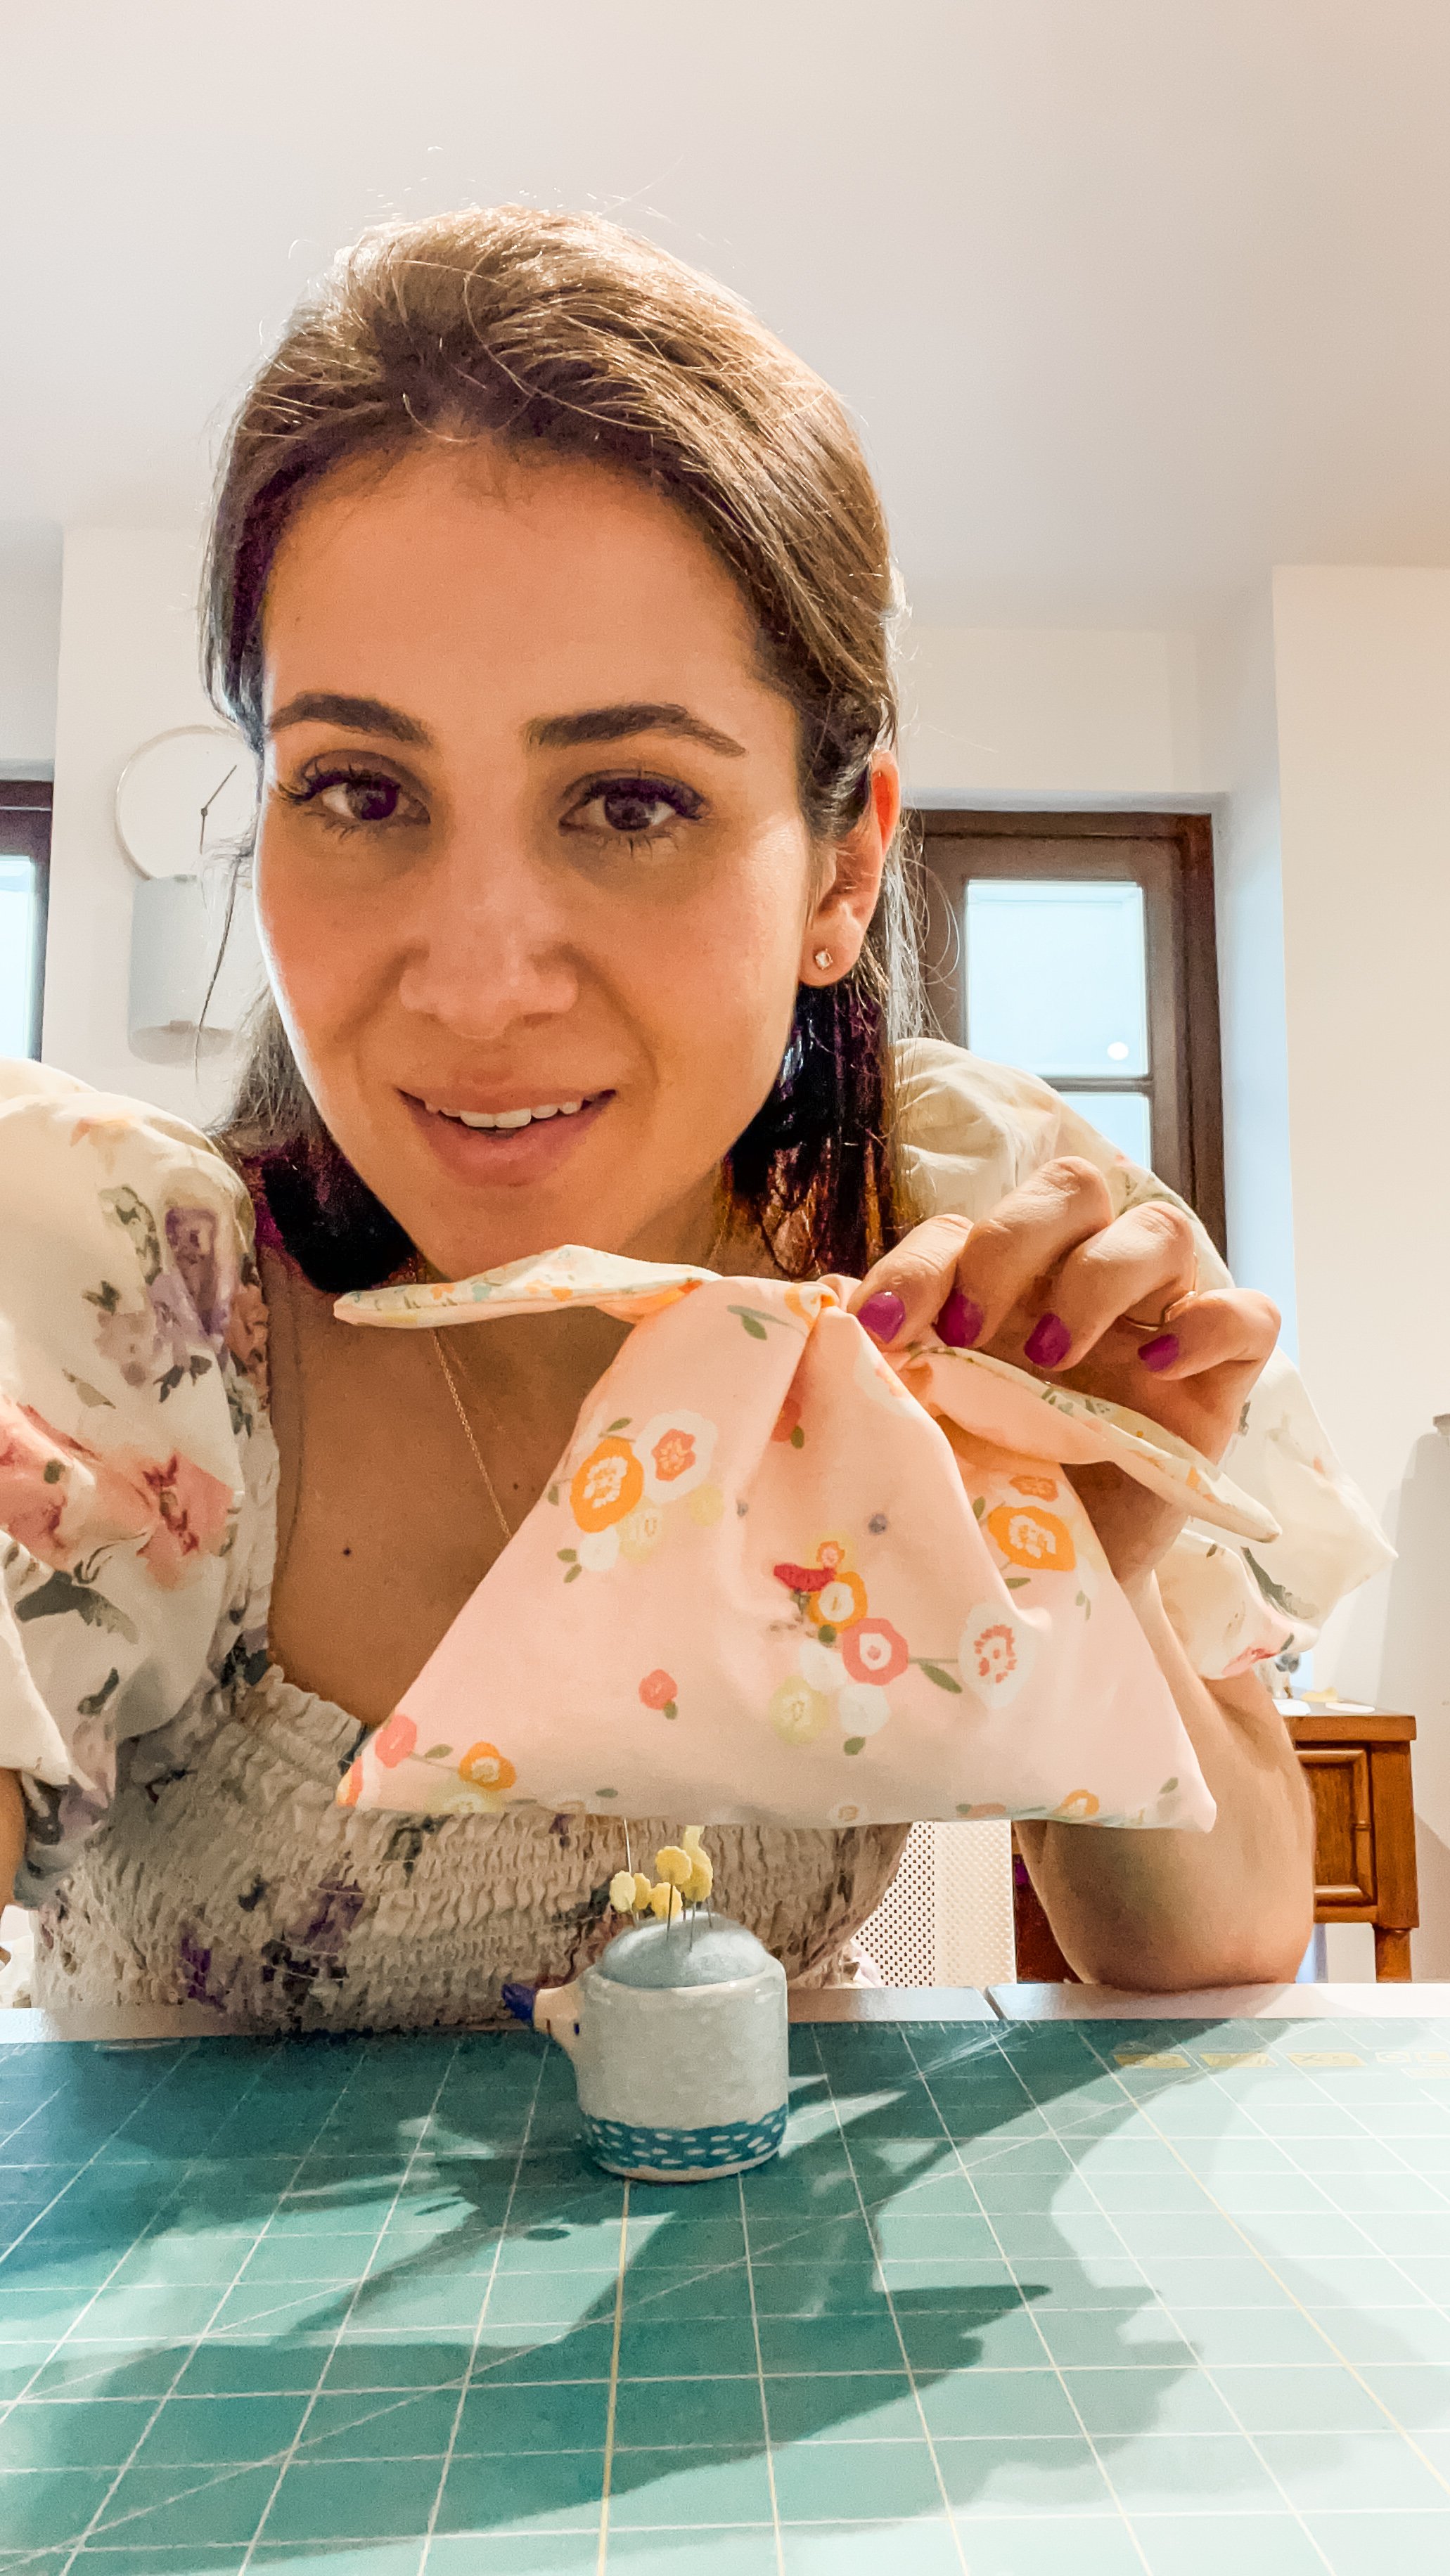
;)